Scallops - It's What's For Dinner
I think we can all agree that Scallops are just as much of a delicacy as they are an intimidating dish to cook. That is until you realize all you need is a non-stick skillet and patience. I don’t use the words “trust the process” that often, but here it truly applies. This is another one of my favorite foods and I've made them several times because it's so quick, easy, and delicious. I've have used both fresh and frozen (thawed) scallops, and though I like the convenience of the frozen ones, fresh is best.
As this recipe focuses on just the main dish, here are a few pairings options. You can toss these with a simple light pasta dish, or my favorite is to pair with my end of summer salad.
Seared Scallops
Prep time: 10 minutes
Cook time: 10 minutes
Total time: 20 minutes
What You Need
- 2 Tablespoons butter
- Salt and pepper to taste
- 12 extra-large or 6 jumbo scallops (about 1 pound)
- 2 Tablespoons olive oil
- 1 Tablespoon butter
Directions
- Pat the Scallops dry with paper towels. This is a pretty important step. You want the scallops to caramelize, not steam. Moisture will encourage steaming and prevent caramelizing.
- Heat a Non-stick skillet over medium-high heat for maybe 3-4 minutes. You want it hot, but not smoking hot. Add 1 tablespoon of the olive oil then add 1/2 tablespoon of the butter. Swirl in the pan. Sprinkle half of the patted dry scallops heavily with salt and pepper.
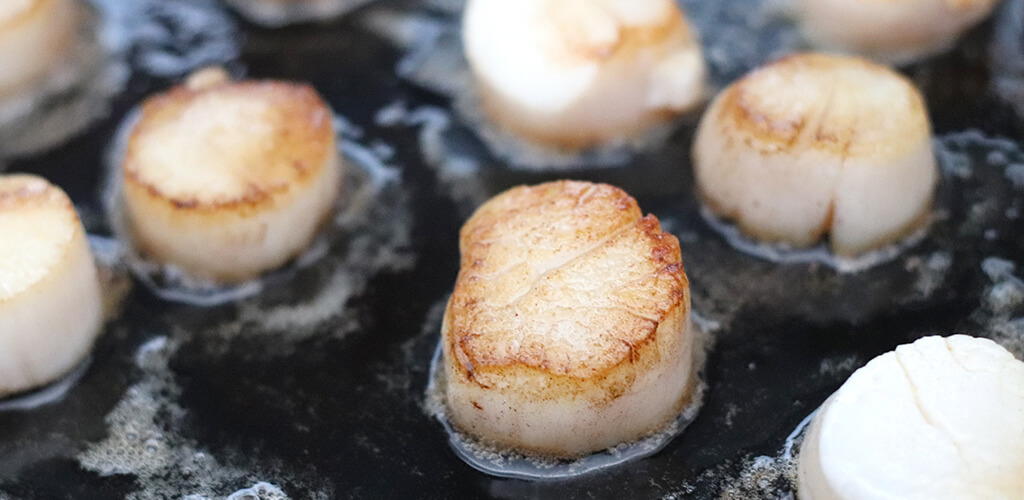
- Add the Scallops to the skillet seasoned side down. Cook for 2 minutes. Do not touch. No matter what, resist the urge. Don’t do it. Wait it out.
- A crust should form in that 2-minute time frame. Pat the tops of the scallops with a paper towel, heavily season with salt and pepper and flip the scallops. Cook this side for another 2 minutes. Both sides should be beautifully seared.
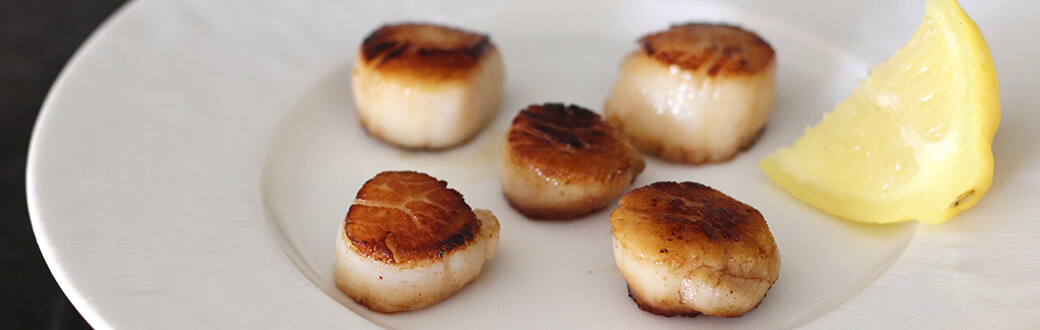
- Remove Scallops from skillet and place on serving platter.
- Cook remaining Scallops in the same manner. Wipe out the skillet before cooking second batch if the sauce/butter is too dark.
- Once the second batch is complete, also add to your serving platter and serve with lemon wedges.
If you want sauce:
- For an easy sauce after removing cooked Scallops from skillet, reduce heat to medium-low and whisk 2 tablespoons lemon juice into the skillet, scraping up any browned bits.
- Add 2 tablespoons cold butter a few cubes at a time and continue whisking constantly until just melted.
- Whisk in 1/4 teaspoon sea salt.
- Drizzle over Scallops.
- Garnish with (cilantro, parsley or basil) and serve immediately.
Recipe Tips:
- If the Scallops are fresh, they should smell sweet. If they aren’t (fresh) and if they don’t (smell sweet), then rinse. Rinse then pat dry. If you still have a fishy smell, Do Not Cook, they have expired.
- As you will see by my photos, I have cooked around 16-18 Scallops as that is the quantity my Scallops were packed in. This does not change the cooking instructions above.
- The reason you cook the Scallops in batches is you want room in the pan so none of the Scallop’s touch while cooking. You also want the pan to stay at the same temperature. Adding too many cold or room temperature Scallops will bring down the high heat of the skillet and cause your Scallops to steam and not sear which creates the delicious crust.
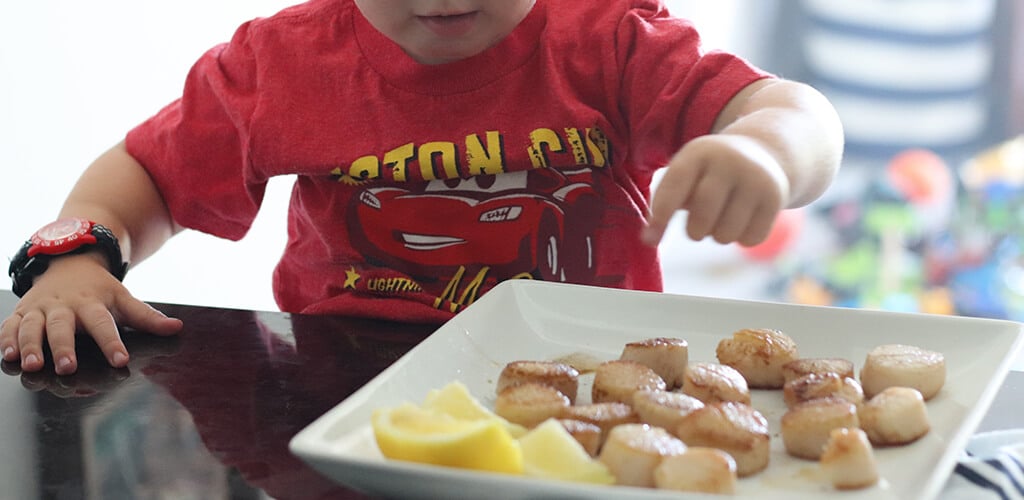
Now the last thing you have to do as my daughter would say is Eat, Eat.
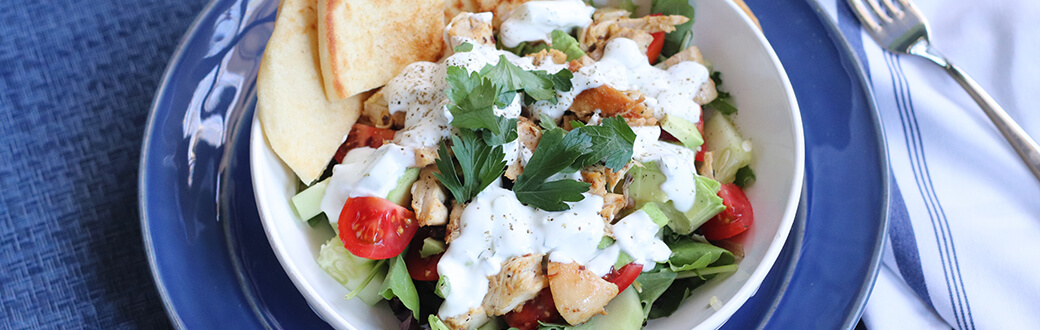
You may also like:
Weeknight Wonder: Chicken Shawarma Bowls